masaki
Electric floor heater

Electric Heater Revolution
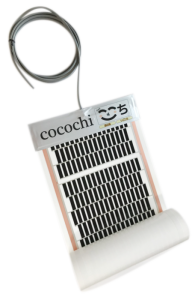
PTC Far-Infrared Floor Heating
Safe and economical because it reacts to
its own temperature and controls
the current flow by itself!
Asia Star’s
PTC far-infrared floor
heating heate
Our conventional product
“Heat Line eco” has been
improved and further evolved.

Peace of mind
A sign of trust
10-year heater warranty
●Self temperature control (PTC) mechanism

●Omakase eco mode
(auto down function)

(1) When levels 3~8 are set, the power-saving operation is automatically turned down 2 levels every 2 hours. Thus, power saving effect can be expected. (For example, when 5 levels are set: 5 levels for 2 hours, 3 levels for 2 hours, and so on) (2) The auto-down function is not applicable when setting level 1~2. (3) This auto-down function also operates during the various set times of the reservation timer according to the set level, so more power-saving effects can be expected.
●Safety & Effectiveness
of Floor Warming
●Since it does not use fire, it can maintain a clean indoor environment without carbon dioxide, wind, sound, odor, or other unpleasant factors. It can be safely used in children’s and elderly people’s facilities.
●Since the heat is generated by radiant heat, the air is less dry and there is no risk of damaging the skin or throat.
●The floor itself is the heater, so there is no need to move the heater in and out each season, keeping the space spacious and beautiful.
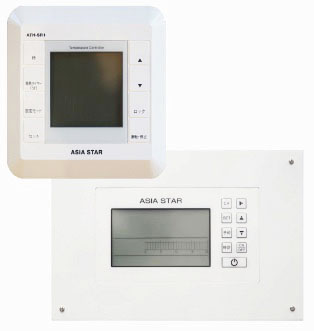
●High-performance controller
●Simulation
Floor area 48㎡ Laying area 26㎡ Laying rate 54
Example of running cost when used 24 hours a day
6-month average (Nov-April)9,838yen
Electricity bill by month

*Electricity rates are approximate values when installed in an all-electric (newly built) building. Running costs are calculated from the “Yoso Season & Time” plan. Calculation standards are based on continuous use 24 hours a day for 30 days, and on specifications for residential energy conservation standards for areas 3 and 4. It varies depending on housing performance, usage conditions, and installation rate.

●Construction Procedure
Easy to carry
Only 0.4 mm thin
Easy to install
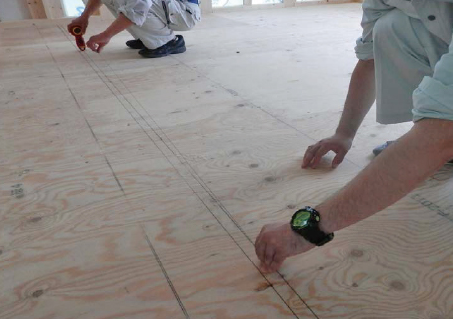
①Marking of heater tip
Mark out the heater locations at one-foot intervals (303 mm) based on the flooring joints. Position the heater so that the flooring overhang and joints do not overlap with the power supply at the tip of the heater.

②Drilling of lead wires
Make a wound hole Ø65 (depth 5mm~10mm) in the terminal section * Be careful not to let the hole penetrate. Drill a hole for lead wire insertion at the top of the damaged circle. (about 12mm~15mm)
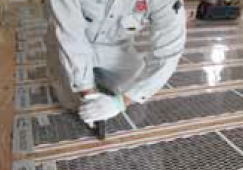
③Fixing the Heater
③Fixing the HeaterVacuum the floor of debris and wood chips, line up the heaters neatly, and tape them in place.
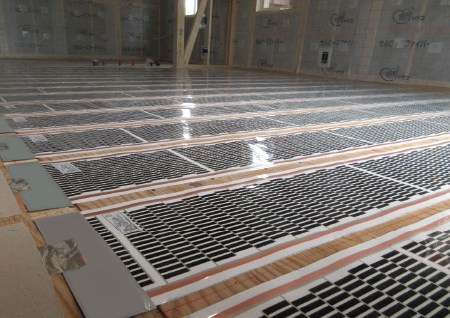
④Insert lead wires under the floor
②Pass the heater leads through the holes for inserting the leads drilled in the previous section through the insulation material under the plywood and under the floor.
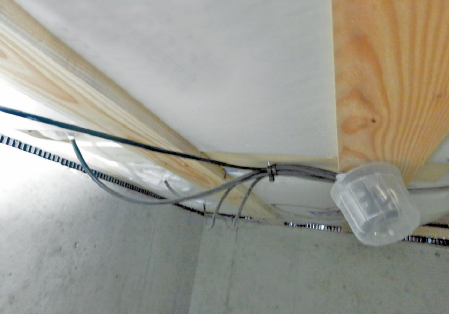
⑤Underfloor wiring and wiring
Treatment of the lead wire exit area. Seal with tape to prevent airtight leakage from insulation. Connection of the cable from the controller to the lead wires. A joint box should be provided at the connection.
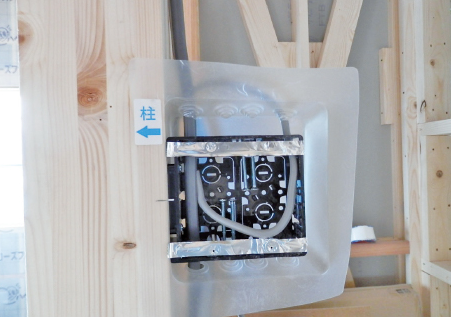
⑥Controller box mounting
Use a deep type embedded switch box for 2 switches. (Installation should be done by an electrician.)
To request information materials,
please visit our official website
or contact us by phone.
Always a warm home away from home
Please feel free to contact us for a quote, questions, or concerns.


